Classic Granny Square
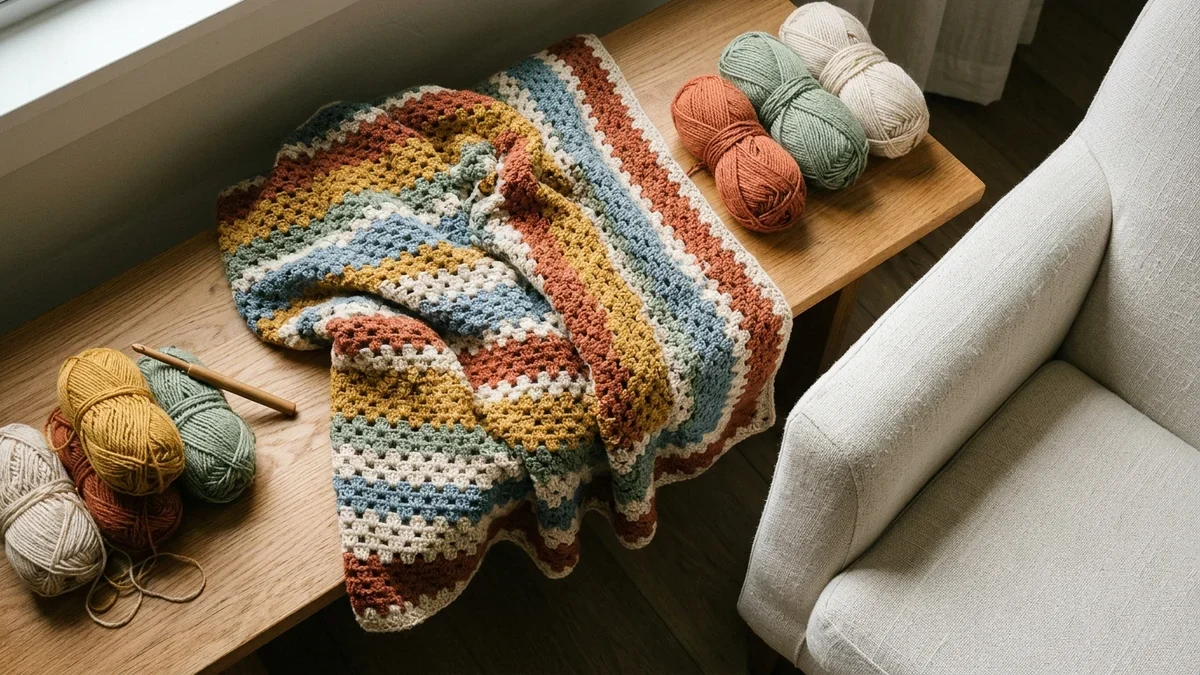
The traditional granny square, worked in rounds of double crochet clusters. Make one as a coaster, or join dozens into a blanket.

12 min read

Pattern at a glance
- Hook
- 5.0 mm (US H-8)
- Yarn
- Worsted-weight acrylic or wool, in one or more colours
- Finished size
- About 4 in (10 cm) after 4 rounds
- Gauge
- Not critical; adjust hook for a firm fabric
- Terms
- US terms
Materials
- Worsted-weight (#4) yarnScraps work well; each round uses only a little yarn
- 5.0 mm (US H-8) crochet hook
- Tapestry needle
- Scissors
Abbreviations
- ch
- chain
- dc
- double crochet
- sl st
- slip stitch
- sp
- space
- rep
- repeat
- beg
- beginning
By the DoubleCrochet Team | Last Updated: November 2026 | Skill Level: Beginner
A 5-round classic granny square measures about 5" × 5" (12.5 × 12.5 cm) (estimate) and uses 26 to 32 yards (24 to 29 m) (estimate) of Category 4 medium worsted-weight yarn with a 5.0 mm (H-8) crochet hook. Worked from the center outward in groups of 3 double crochets (3-dc granny clusters) separated by ch-1 side spaces and (3 dc, ch 2, 3 dc) corner shells, every round adds exactly 4 clusters (12 double crochet stitches) to the square.
Because your hook goes directly into the open chain spaces between clusters rather than into tight individual stitch loops, the classic granny square is one of the fastest, most relaxing motifs in crochet. You can stop after 3 rounds for a coaster, join 8 five-round squares into a granny square tote bag, or keep adding rounds infinitely to crochet a giant single-square throw blanket.
Worked entirely into open chain spaces with 3-dc clusters, a 5-round classic granny square takes less than 15 minutes and uses under 32 yards of worsted yarn.
Project Specifications & Materials
Finished Size & Gauge (5-Round Square)
- Finished Dimensions (Blocked): Approximately 5" × 5" (12.5 × 12.5 cm) (estimate)
- Round 1 Size:
~1.5" × 1.5" (3.8 × 3.8 cm)(estimate) (each additional round adds ~0.85"–0.9" to the total width) - Total Stitches in 5 Rounds: 20 granny clusters (60 dc) + four
ch-2corner spaces + twelvech-1side spaces - Yarn Required per 5-Round Square: ~26–32 yards (24–29 m) / 14–17 g (estimate) of Category 4 worsted-weight yarn
Materials & Tools Needed
- Yarn: Category 4 Medium Worsted-Weight Yarn (smooth acrylic, 100% cotton, or superwash wool in 1 to 5 contrasting colors). Want to test how your stash shades look together before cutting yarn? Use our interactive tool to plan colours.
- Crochet Hook: 5.0 mm (US H-8) for blankets, throws, and wearables (or downsize to a 4.5 mm / US 7 hook if making firm squares for bags and coasters)
- Notions: Sharp scissors, blunt metal tapestry needle for weaving in ends, and blocking pins + foam mat (or a wooden granny square blocking pegboard)
Abbreviations & Stitches Used (US Terms)
This pattern uses US crochet terminology. (In UK terms, a US double crochet (dc) is called a treble crochet (tr).)
Abbreviation | Stitch Name (US Terms) | How to Work It in a Granny Square |
|---|---|---|
ch | Chain | Yarn over, pull through loop on hook. |
sl st | Slip Stitch | Insert hook into stitch or space, yarn over, pull through both stitch and loop on hook in one motion. |
dc | Double Crochet | Yarn over, insert hook into chain ring or space, yarn over, pull up a loop (3 loops on hook), |
cluster (cl) | Granny Cluster ( | A group of 3 double crochet stitches worked into the same chain space. |
corner shell | Granny Corner ( | Two |
ch-sp | Chain Space | The open window underneath a |
Written Pattern: 5-Round Classic Granny Square

Foundation Ring (Choose Your Preferred Starter)
- Option A — Chain-4 Ring (Most Secure for Blankets & Bags):
Ch 4, insert your hook into the first chain made, and join with asl stto form a small ring. - Option B — Magic Ring (Zero Center Hole): Form an adjustable magic loop and work Round 1 inside the ring, then pull the tail tight and weave it back and forth in two directions so the center can never loosen in the wash.
Round 1: Building the First 4 Corners (12 dc)
Ch 3(counts as your firstdchere and throughout the pattern).- Work
2 dcinto the center ring. ( Together with the startingch-3, this forms your first3-dcgranny cluster.) Ch 2(first corner space made), then work3 dcinto the center ring (second cluster made).- Repeat
[Ch 2, work 3 dc into the center ring]2 more times (for a total of 4 clusters around the ring). Ch 2(fourth corner space made), and join with asl stinto the top (3rd chain) of the beginningch-3.
- Round 1 Count: 4 granny clusters (12 dc) separated by four
ch-2corner spaces.
How to Start Round 2 (3 Methods to Choose From)
Before beginning Round 2, choose how you want to position your hook in a corner ch-2 space:

- Method 1 — Slip-Stitch to Corner (Single-Color Square, Same Side): Keep your yarn attached, work
1 sl stinto the top of the next2 dcstitches of the cluster to your left, and work1 sl stdirectly into thech-2corner space. You are now inside the corner and ready toch 3. - Method 2 — Turn Your Work (Single-Color Square, Zero Twist): After joining Round 1 with a
sl st, turn your square over like the page of a book so the Wrong Side (WS) faces you,sl stdirectly backward into thech-2corner space you just finished, andch 3. Turning after every round completely prevents large squares from twisting! - Method 3 — Changing Colors in Any Corner: Fasten off Round 1. Insert your hook into any
ch-2corner space and either pull up a loop of the new color andch 3, or start with a seamless stitch using our tutorial on standing dc colour joins (which eliminates thech-3bump entirely).
Round 2:Expanding the 4 Corners (24 dc)
- With your hook inside a
ch-2corner space,ch 3(counts as1 dc), then work(2 dc, ch 2, 3 dc)into that samech-2corner space. (First corner shell made.) *Ch 1(side space), skip the3-dccluster below, and work(3 dc, ch 2, 3 dc)into the nextch-2corner space.- Repeat from
*2 more times (until all 4 corners have a(3 dc, ch 2, 3 dc)shell). Ch 1, and join with asl stinto the top of the beginningch-3.
- Round 2 Count: 8 granny clusters (24 dc), four
ch-2corner spaces, and fourch-1side spaces (1 side space per edge).
Round 3: Adding the First Side Clusters (36 dc)
- Move into the corner
ch-2space (or join a new color in anych-2corner space).Ch 3(counts as1 dc), and work(2 dc, ch 2, 3 dc)into the same corner space. *Ch 1, work3 dcinto the nextch-1side space,ch 1, and work(3 dc, ch 2, 3 dc)into the nextch-2corner space.- Repeat from
*2 more times. Ch 1, work3 dcinto the lastch-1side space,ch 1, and join with asl stinto the top of the beginningch-3.
- Round 3 Count: 12 granny clusters (36 dc) — 2 corner clusters + 1 side cluster along each of the 4 edges, separated by
ch-1side spaces.
Round 4: Two Side Clusters Per Edge (48 dc)
- Move into or join yarn in a
ch-2corner space.Ch 3(counts as1 dc), and work(2 dc, ch 2, 3 dc)into the same corner space. *Ch 1, [work 3 dc in next ch-1 side space, ch 1] twice, then work(3 dc, ch 2, 3 dc)into the nextch-2corner space.- Repeat from
*2 more times. Ch 1, [work 3 dc in next ch-1 side space, ch 1] twice, and join with asl stinto the top of the beginningch-3.
- Round 4 Count: 16 granny clusters (48 dc) — 2 corner clusters + 2 side clusters along each of the 4 edges.
Round 5: Three Side Clusters Per Edge (60 dc)
- Move into or join yarn in a
ch-2corner space.Ch 3(counts as1 dc), and work(2 dc, ch 2, 3 dc)into the same corner space. *Ch 1, [work 3 dc in next ch-1 side space, ch 1] 3 times, then work(3 dc, ch 2, 3 dc)into the nextch-2corner space.- Repeat from
*2 more times. Ch 1, [work 3 dc in next ch-1 side space, ch 1] 3 times, and join with asl stinto the top of the beginningch-3.- Fasten off, leaving a 6-inch tail, and weave in all ends securely on the Wrong Side.
- Round 5 Count: 20 granny clusters (60 dc) — 2 corner clusters + 3 side clusters along each of the 4 edges (
15 dc+3 ch-1 spacesper edge between corners).
Round-by-Round Stitch, Size & Yardage Formula (Rounds 1 to 8)
Want to keep crocheting past Round 5? Every additional round simply works (3 dc, ch 2, 3 dc) in each of the 4 corners and 3 dc in every ch-1 side space around. Use this reference table for Category 4 worsted yarn and a 5.0 mm hook:
Round # | Side Clusters Per Edge | Total | Total | Cumulative | Est. Square Width ( | Cumulative Worsted Yardage (estimate) |
|---|---|---|---|---|---|---|
Round 1 | 0 (corners only) | 4 clusters | 12 dc | 12 dc |
|
|
Round 2 | 0 (2 corner shells) | 8 clusters | 24 dc | 36 dc |
|
|
Round 3 | 1 per side | 12 clusters | 36 dc | 72 dc |
|
|
Round 4 | 2 per side | 16 clusters | 48 dc | 120 dc |
|
|
Round 5 | 3 per side | 20 clusters | 60 dc | 180 dc |
|
|
Round 6 | 4 per side | 24 clusters | 72 dc | 252 dc |
|
|
Round 7 | 5 per side | 28 clusters | 84 dc | 336 dc |
|
|
Round 8 | 6 per side | 32 clusters | 96 dc | 432 dc |
|
|
Troubleshooting: How to Stop Granny Squares from Twisting or Waving
1. The "Granny Vortex Twist" (Why Large Squares Skew Like a Pinwheel)
Every crochet stitch has a natural slight anatomical lean toward your dominant hand. When you crochet 5, 8, or 20 rounds exclusively with the Right Side (RS) facing you, each round's clusters sit slightly to the left of the clusters below, causing the center of the square to swirl like a pinwheel.

- The Fix: Turn your work over at the end of every single round (work Round 1 on
RS, Round 2 onWS, Round 3 onRS, and so on). Because the Wrong Side of a granny cluster looks almost identical to the Right Side, alternating directions keeps the diagonal corner lines laser-straight even on a 50-round blanket!
2. Wavy or Ruffling Outer Edges (Ch 1 vs. Ch 0 on Sides)
If your square's outer edges ripple or feel overly floppy, your ch 1 side spaces are adding too much width for your tension.
- The Fix: Eliminate the
ch 1between clusters along the straight sides (ch 0on sides)—only chain at the four corners (ch 2). Working3 dcdirectly into the space between previous clusters without chaining 1 creates a tighter, flatter, modern granny square with smaller holes.
3. Rounded or Cupping Corners (Ch 2 vs. Ch 3 in Corners)
If your square looks more like a circle with rounded corners or curls up like a bowl:
- The Fix: Increase your corner chain space from
ch 2toch 3(working(3 dc, ch 3, 3 dc)in all 4 corners). That extra corner chain gives the 90-degree turn room to lie flat and creates crisp, pointed corners that are easy to pin during blocking.
How to Block & Join Granny Squares for Blankets and Bags
1. Blocking Your Squares to Identical Dimensions
Even small tension changes between yarn colors can make one square 4.75" and the next 5.25". Blocking equalizes every motif before seaming:

- Foam Mat + T-Pins: Pin all 4
ch-2corners to a5" × 5"grid square on a foam blocking mat, mist with water (for cotton/wool) or hover a garment steamer2 inchesabove the surface (for acrylic—never touch a hot iron to acrylic!), and let dry completely. - Wooden Blocking Pegboard: Insert 4 stainless steel or brass rods into the
5" × 5"corner holes of a pegboard and slide up to 8 damp squares onto the rods at once so the entire stack dries to the exact same size.
2. How Many 5-Round (5" × 5") Squares Do I Need for a Project?
Once your squares are blocked, join them using the Whipstitch (BLO), Mattress Stitch, Flat Slip-Stitch Join, or Join-As-You-Go (JAYG) method. Use this chart to plan your project—or enter custom square measurements into our calculator to find out how many squares for a blanket:
Project Type | Finished Grid Size ( | Total | Approx. Joined Dimensions (Before Border) (estimate) | Total Est. Worsted Yardage (Including Join/Border) (estimate) |
|---|---|---|---|---|
| 8 squares |
|
| |
Throw Pillow Cover (16" Insert) |
| 18 squares |
|
|
Baby / Stroller Blanket |
| 42 squares |
|
|
Lapghan / Reading Throw |
| 80 squares |
|
|
Classic Sofa Throw Blanket |
| 120 squares |
|
|
Creative Variations on the Classic Granny Square
- The Seamless Corner Join (
Ch 1 + Hdc): If you are crocheting a single-color square and want to avoid slip-stitching across the 3 stitches of the first cluster at the start of every round, replace the finalch 2corner at the end of the round withch 1, then work1 hdcinto the top of the beginningch-3. The top of that half double crochet lands your hook right in the middle of the corner space! - Continuous Giant Granny Square Blanket: Instead of sewing 80 small squares together, keep working the exact Round 5 formula (
(3 dc, ch 2, 3 dc)in corners,3 dcin each side space, turning after every round) for 36 to 45 rounds to create a seamless square throw blanket with zero joining seams. - 2-Color Diagonal Half-and-Half Square: Change colors inside two opposite
ch-2corner spaces (Corner 1andCorner 3) on every round, carrying the unused yarn strand loosely inside the clusters or dropping and picking it up as you turn each round, to split the square into two crisp diagonal triangles.
Frequently Asked Questions (FAQ)
Why do some classic granny square patterns say "no chain" (ch 0) on the sides?
Traditional 1970s granny square patterns put ch 1 between 3-dc clusters on the sides and ch 2 or ch 3 in the corners. Modern crocheters often skip the ch 1 on the straight sides (ch 0) because working 3 dc directly into the gap between clusters creates a denser fabric with smaller holes and prevents wavy edges if you crochet loosely. Both methods are 100% valid—just keep your choice consistent across all squares in the same project.
How do I weave in ends on a granny square so they never come undone?
Never tie a knot and cut the yarn flush with the knot—it will pop open in the first wash! Instead, leave a 5- to 6-inch tail, thread it onto a blunt tapestry needle, and weave it horizontally through the base of a 3-dc cluster of the same color in three alternating directions (left through 3 stitches, loop over one strand and go right through 3 stitches, then left again) so friction locks the tail permanently.
Should I crochet over my yarn tails as I go?
You can crochet over the tails of Rounds 2–5 as you work the next cluster, which saves time, except on the center ring of Round 1. On Round 1, always weave the starting tail back and forth with a tapestry needle in two opposite directions around the ring—simply crocheting over a Magic Ring tail allows the center hole to pull open over time.
What is the best yarn for a classic granny square blanket?
For a cozy, machine-washable throw blanket, a soft Category 4 medium worsted anti-pilling acrylic or superwash merino wool paired with a 5.0 mm (H-8) hook gives wonderful drape and warmth. For bags, coasters, and summer cardigans, choose 100% combed cotton or a cotton-bamboo blend for breathability and structure.




Questions & notes
No comments yet
Sign in or create a free account to comment under your profile and keep track of your replies.
Your email address is never published. Comments are moderated under our Community Guidelines; see our Privacy Policy for how we use your details.