How to Measure Crochet Gauge (and Fix a Swatch That Is Off)
Gauge is the number of stitches and rows in a set measurement. Getting it right is how a garment ends up the size the pattern says.

9 min read

By Double Crochet Editorial Team | Last Updated: November 2026
Crochet gauge is the number of stitches across and rows tall that fit inside a standard 4 in × 4 in (10 cm × 10 cm) square of fabric. To measure gauge accurately, crochet a swatch at least 6 in × 6 in (15 cm × 15 cm) using your project yarn and hook, lay it flat on a hard surface without stretching, and use a rigid ruler to count the stitches and rows inside the center 4 inches—ignoring the outer edge stitches, foundation chain, and top row.
US vs. UK Terminology Note: What US patterns call gauge, UK and Australian patterns call tension (for example, "Tension: 15 tr and 8 rows to 10 cm"). Also remember that a US single crochet (sc) is a UK double crochet (dc), and a US double crochet (dc) is a UK treble (tr).
What Gauge Is (and When You Actually Need to Check It)
Every crochet pattern lists a gauge specification near the top, such as:
Gauge:15 dc and 8 rows = 4 in (10 cm)using a5.5 mm (US I-9)hook.
Think of each stitch as a building block with a specific width and height. Even when two crocheters use the exact same yarn and 5.5 mm hook, one person's natural hand tension may produce slightly narrower stitches (16 dc in 4 in) while the other person's relaxed grip produces wider stitches (14 dc in 4 in).
- When you MUST check gauge: Sweaters, cardigans, tops, fitted hats/beanies, socks, mittens, and multi-skein blankets where running out of yarn is a risk.
- When you can skip a gauge swatch: Amigurumi toys (where a tight, hole-free fabric matters more than exact inches), dishcloths, tote bags, and scarves where being
1 inchwider or narrower does not affect fit.
Worked Example: How 1 Stitch per 4 Inches Changes a 40-Inch Sweater
Skipping a gauge swatch—or shrugging off a difference of "just one stitch"—is the #1 reason handmade sweaters end up unwearable. Here is the exact arithmetic for a Medium sweater designed for a 40-inch (101.5 cm) bust:
- Pattern Target Gauge:
15 dc = 4 in(3.75 stitches per inch). - Total Stitches Around the Sweater Body: To reach a
40-inchbust at3.75 sts/in, the pattern instructs you to work150 stitchesaround the body (40 in × 15 sts ÷ 4 in = 150 stitches).
Now look at what happens to those 150 stitches if your gauge is off by just 1 stitch per 4 inches:
Your Measured Swatch Gauge | Stitches Per Inch | Math for the 150-Stitch Sweater Body | Resulting Finished Bust Size | Fit Outcome |
|---|---|---|---|---|
14 |
|
|
| Nearly |
15 |
|
|
| Exact |
16 |
|
|
|
|
You can check how any gauge mismatch will affect your specific project dimensions before you start using our interactive how far off your gauge is calculator.
Step 1: Make a 6 in × 6 in (15 × 15 cm) Swatch
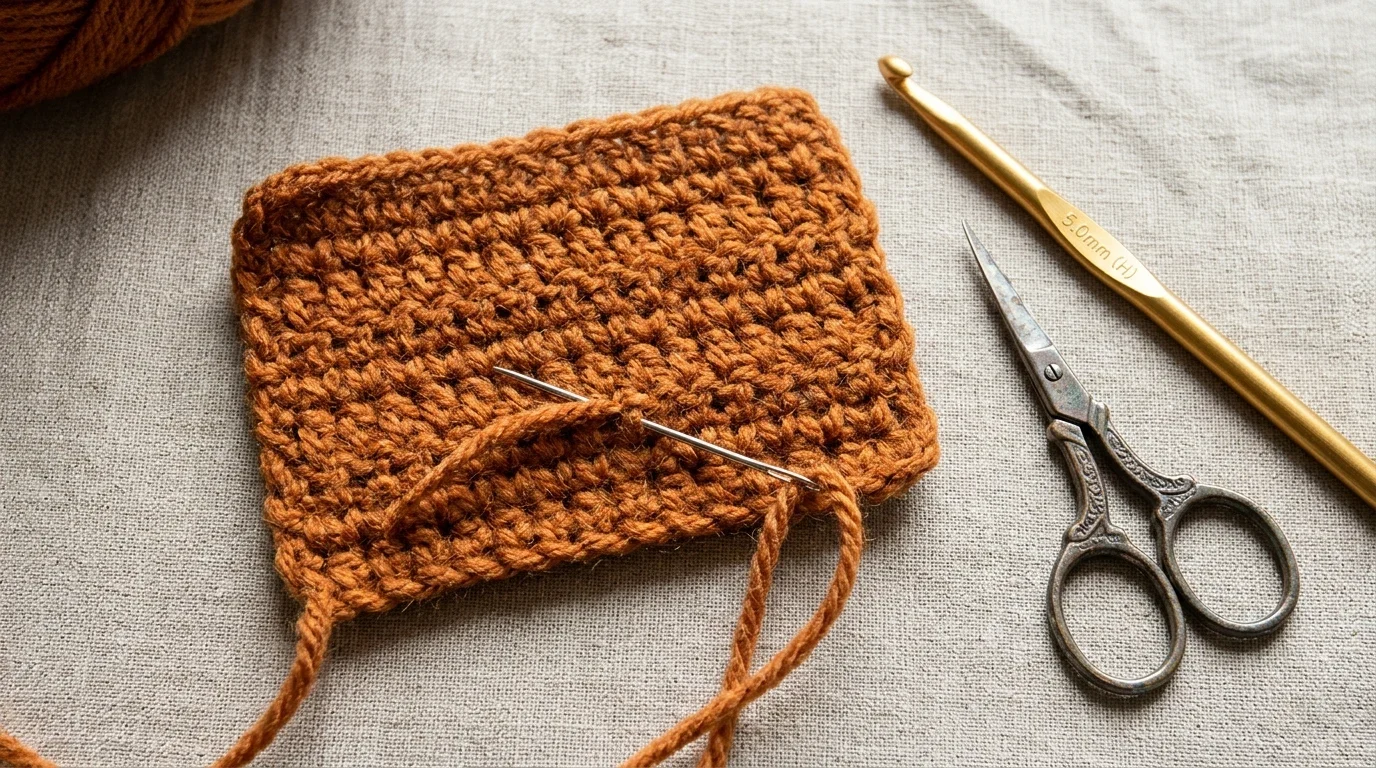
Never chain only the exact number of stitches listed in the 4-inch gauge statement! The turning chains along the left and right edges, the foundation chain at the bottom, and the final row at the top all pull in and distort stitch width by 10–15%.
- Add
6to8extra stitches and4to6extra rows: If the pattern gauge says15 dc and 8 rows = 4 in, chain enough to work22 dcacross for12 rowsso your finished square measures roughly6 in × 6 in(15 cm × 15 cm). - Use the exact stitch pattern specified: If the gauge note says "16 sts and 14 rows = 4 in in Moss Stitch", work your swatch in Moss Stitch—not plain single crochet.
- Do not cut the yarn if yardage is tight: You can leave the swatch attached to the ball while you measure (or even wet-block it while the ball sits dry beside the mat), then unravel ("frog") the swatch and reuse every yard of yarn in your project once you have recorded your numbers.
Step 2: Block Your Swatch Before Measuring (For Garments)
If you are crocheting a sweater, cardigan, shawl, or wearable that will be washed or steam-blocked, measuring your dry unblocked swatch straight off the hook only tells you half the story.

- Measure your dry ("unblocked") gauge first and write the numbers down in a notebook.
- Wash and block the swatch the exact same way you plan to care for the finished garment (soak in lukewarm water, press excess water out in a towel, and pin flat on a foam mat without stretching the stitches out of shape—or steam-block for acrylic).
- Measure your dry "blocked" gauge once the swatch is
100%dry. Many superwash wools, bamboo, alpaca, and cotton yarns relax and grow5–15%after their first wash. Always use your blocked gauge to choose your hook size, and use our blocking calculator to predict how much a heavy garment will lengthen after washing.
Step 3: How to Measure Stitches and Rows in the Center 4 Inches
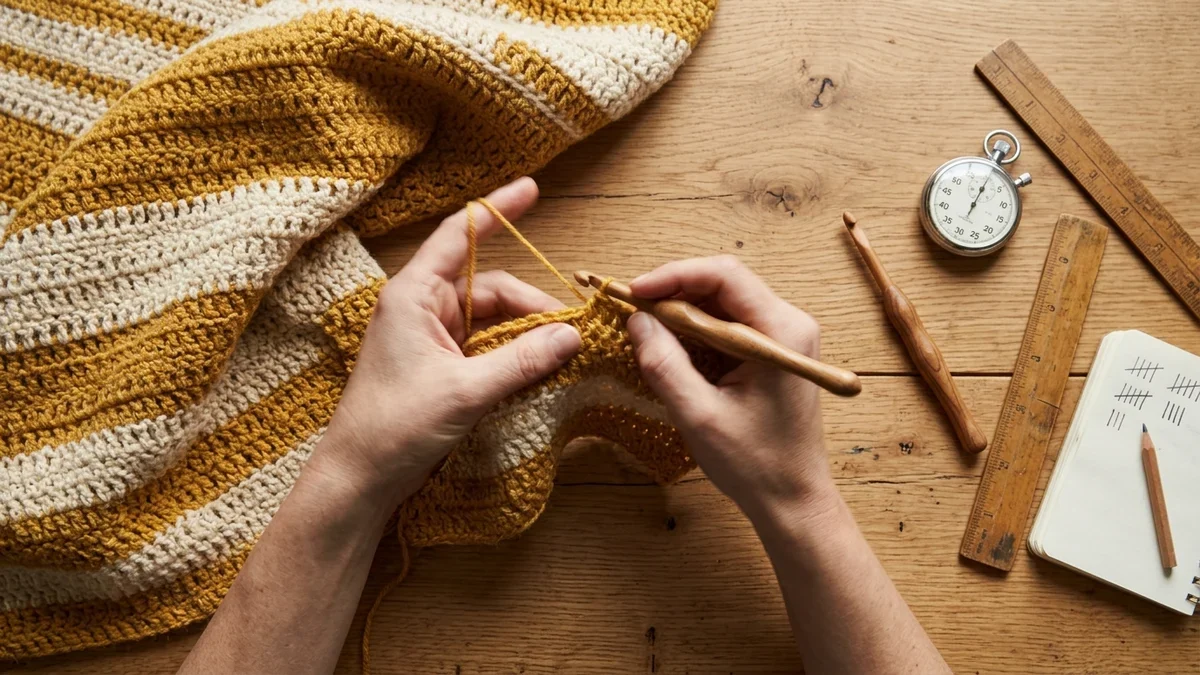
Lay your finished swatch flat on a hard table in good light. Always use a rigid wood, metal, or hard plastic ruler (or an L-shaped gauge ruler)—soft tailor's tape measures stretch over time and curve over bumpy stitches.
1. Measuring Stitch Gauge (Horizontally)
- Place your rigid ruler horizontally across the middle of the swatch, at least
1 inch(2.5 cm) inside the left and right side edges and several rows above the foundation chain. - Line the
0-inch(0 cm) mark up with the left edge of one complete stitch post, and push a straight pin or T-pin vertically into the fabric right at0. - Push a second pin vertically into the fabric right at the
4-inch(10 cm) mark. - Count the individual vertical stitch posts (or top
Vs) sitting between the two pins—including half-stitches (0.5 st) or quarter-stitches (0.25 st) if the4-inchpin lands partway through a stitch!

2. Measuring Row Gauge (Vertically)
- Turn your ruler
90 degreesso it runs vertically up the center of the swatch, at least1 inch(2.5 cm) above the bottom foundation chain. - Place a pin horizontally at the base of a row at the
0-inch(0 cm) mark and a second pin at the4-inch(10 cm) mark. - Count the horizontal rows stacked between the two pins. ( remember: never count the foundation chain as a row when measuring gauge.)
- Enter your stitch and row counts into our work out your gauge calculator to calculate exact stitches per inch/cm and scale any pattern.

Measuring Gauge in Pattern Repeats and in the Round
Not every pattern uses flat rows of plain double crochet. Here is how to handle the two special cases:
1. Gauge in Stitch Pattern Repeats (Shells, V-Stitch, Chevron)
When working a textured repeat like V-stitch or Shell Stitch, counting individual stitches is tricky because stitches fan out from a single base stitch. Well-written patterns state gauge as pattern repeats per 4 inches (for example, "5 V-stitches and 8 rows = 4 in").
- How to measure: Work at least
7to8full repeats across your swatch, lay your ruler across the center4 inches, and count how many completeVs or shells sit between the0-inchand4-inchpins.
2. Gauge in the Round (Hats, Top-Down Yokes, Seamless Sleeves)
When you crochet back-and-forth in flat rows, every other row shows the wrong side (WS) of the stitch. When you crochet in the round without turning, every single round faces the right side (RS), which slightly changes your stitch slant and tension!
- The Faux-Round Swatch Trick (No Tube Needed): Instead of crocheting a whole circular tube just to measure a
4-inchflat section, work Row 1 of your swatch normally (22 sts). At the end of Row 1, do not turn your work. Instead, pull up a long15 cm(6 in) loose strand (a "float") across the back of the swatch, bring the working yarn back to the right edge, and work Row 2 into the front (RS) of Row 1! Repeat for10–12rows, leaving loose yarn floats across the back so every row is worked right-side-facing just like true in-the-round crochet.
How to Adjust Your Gauge: Hook Size (Width) vs. Loop Height (Rows)
What do you do when your measured 4-inch count does not match the pattern?

Golden Rule of Crochet Gauge: Stitch gauge (width) is far more important than row gauge (height). It is easy to add or subtract1or2rows at the end of a sweater body or sleeve to reach the right length in inches, whereas fixing a wrong stitch width requires recalculating every single stitch count in the pattern!
Use this decision matrix to fix your gauge on Swatch #2:
Your Swatch Measurement vs. Pattern Target | What It Means | Exact Adjustment to Make |
|---|---|---|
You have MORE stitches in | Your stitches are too small / too tight (your garment will turn out too small). | Switch to a LARGER crochet hook ( |
You have FEWER stitches in | Your stitches are too big / too loose (your garment will turn out too large). | Switch to a SMALLER crochet hook ( |
Stitch count is RIGHT, but you have TOO MANY rows in | Your stitches are the right width, but too short vertically. | Keep the same hook size, and lift your "Golden Loop" (the very first loop you pull up through the stitch) slightly higher before yarning over. |
Stitch count is RIGHT, but you have TOO FEW rows in | Your stitches are the right width, but too tall vertically. | Keep the same hook size, and pull your first pulled-up loop slightly snugger (or switch from metal to a grippier wooden hook). See our full guide on how to fix row height and double crochet tension. |
Frequently Asked Questions (FAQ)
If I have too many stitches per 4 inches, do I go up or down a hook size?
Go up to a larger hook size (for example, from 5.0 mm to 5.5 mm or 6.0 mm). Having more stitches packed into 4 inches means each individual stitch is too narrow and tight; a larger hook shaft makes each stitch wider so fewer stitches fit inside 4 inches.
Does the starting foundation chain count as a row when measuring gauge?
No. Never include the bottom foundation chain or the very top edge row inside your 4-inch (10 cm) vertical measurement. Always make your swatch at least 5.5 to 6 inches tall and place your ruler across the middle rows so the tighter foundation chain doesn't skew your row count.
What if I match the stitch gauge, but I can never match the row gauge?
Prioritize stitch gauge (horizontal width) every time. Once your stitch count per 4 inches matches the pattern, look at how the pattern measures length:
- If the pattern says "Work until piece measures 15 inches from shoulder", simply work as many or as few rows as you need to reach
15 inches. - If the pattern gives shaping by row count (such as "Decrease 1 st every 4th row 6 times"), use our gauge calculator to convert those row intervals to match your personal row height.
Can I unravel my gauge swatch and use the yarn in my project?
Yes! As long as you do not cut the yarn into tiny pieces or felt the wool in hot water, you can measure (and even wet-block and dry) your gauge swatch, take a photo of it next to your ruler for your notes, and then unravel it to use the yarn in your project—especially helpful when you only have just enough skeins to finish a sweater or blanket.


Questions & notes
No comments yet
Sign in or create a free account to comment under your profile and keep track of your replies.
Your email address is never published. Comments are moderated under our Community Guidelines; see our Privacy Policy for how we use your details.