Common Beginner Crochet Mistakes (and How to Fix Each One)
Rows that grow or shrink, tight chains, curling edges and stiff fabric all have simple causes. Here is how to spot and fix each one.

13 min read

By Double Crochet Editorial Team | Last Updated: November 2026
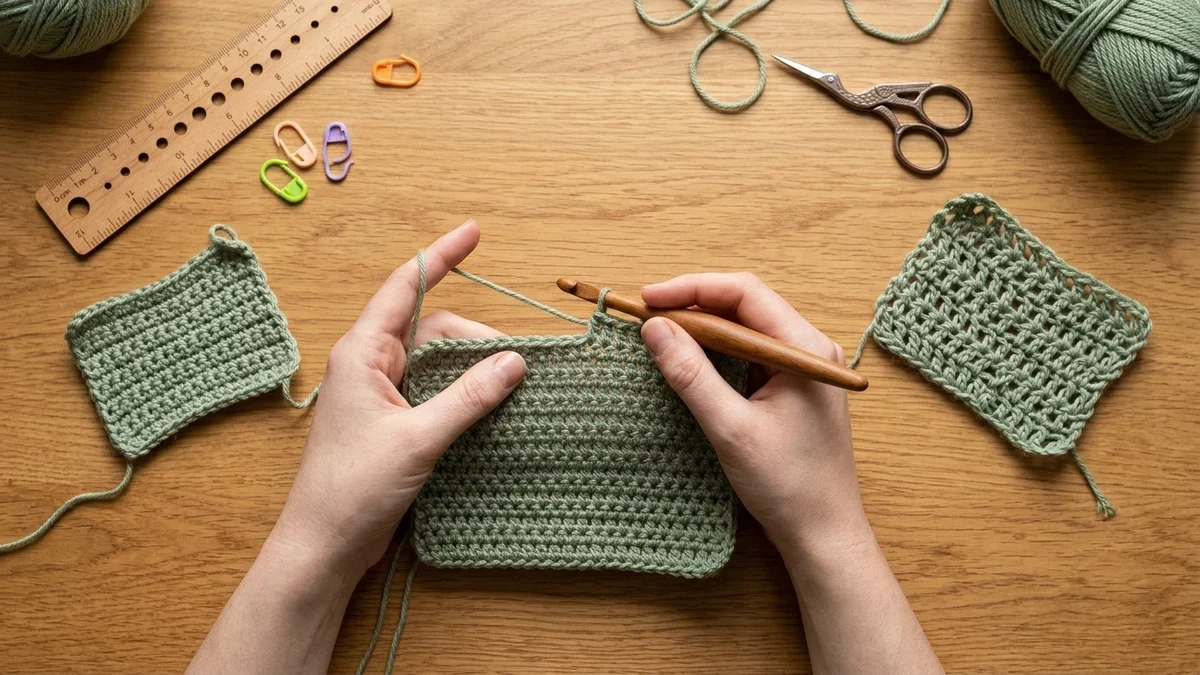
Almost every beginner crochet mistake comes from one of five places: chaining too tightly, losing or adding stitches at the row edges, inserting the hook under only one loop instead of both, forming loops on the narrow throat of the hook instead of the shaft, or skipping stitch counts. Below is how to spot each mistake on your fabric, why it happens mechanically, and how to fix or undo it without starting your whole project over.
US vs. UK Terminology Note: This guide uses US crochet terminology. A US single crochet (sc) is called a double crochet (dc) in UK patterns, and a US double crochet (dc) is called a treble crochet (tr) in the UK—mixing the two systems up in a pattern is one of the easiest traps to avoid once you check the pattern's terminology note first.
Quick Visual Diagnostic Table: Spot Your Mistake in 10 Seconds
What Your Crochet Looks Like (Symptom) | What Happened (Root Cause) | Immediate Fix |
|---|---|---|
Bottom edge bows into a rainbow arch or curls tightly | Foundation chain was worked tighter than Row 1 stitches. | Make the foundation chain with a hook |
Piece tapers narrower into a triangle or pyramid | You are skipping the last stitch of the row (or the top of a counted turning chain). | Clip a locking stitch marker into the first stitch of every row so you know where to place the final stitch of the next row. |
Piece flares wider every row (fan or trapezoid shape) | You are working into the 1st stitch at the base of a counted turning chain, or working into an uncounted | Match your start and end rules; verify row counts after every row. |
Unintended horizontal ridges across every row | Hook was inserted under only one loop (front loop or back loop) instead of under both loops of the top | Tilt the top edge of your row toward you and push the hook beneath both strands of the sideways |
Fabric feels stiff like cardboard and hook won't go in | Loops are being pulled tight on the narrow throat of the hook instead of sliding onto the wider shaft. | Let each new loop slide back onto the cylindrical shaft of the hook to set its full size before finishing the stitch. |
Fuzzy halos or loose single strands snagging on the hook | Hook tip pierced through the plies of the yarn (splitting the yarn). | Rotate the hook hook-side down when pulling through, and practice with smooth worsted-weight ( |
1. Mistakes with the Foundation Chain
Your foundation chain sets the width and elasticity of the entire bottom edge of your project. Two errors happen here before Row 1 is even finished.
Mistake 1A: The Foundation Chain Is Too Tight (Bottom Edge Curls or Bows)
- How to spot it: As soon as you finish Row 1 and Row 2, your strip curves into a tight rainbow arch (
C-shape), and the bottom chain edge feels hard and inflexible when you pull it horizontally. - Why it happens: Beginners naturally grip the yarn tightly while concentrating on their first chains. Because a foundation chain has less built-in stretch than a row of single or double crochet, tight chains pull the bottom of Row 1 inward while the tops of the stitches fan outward.
- How to fix it:
- Do not try to "block out" a severely tight foundation chain—it will always pull inward.
- Unravel Row 1 and remake your foundation chain using a crochet hook one size (
0.5 mmto1.0 mm) larger than your project hook (for example, chain with a6.0 mmJ-10 hook, then switch to a5.0 mmH-8 hook to work Row 1 and beyond). - Work your Row 1 stitches into the back bump (the single horizontal ridge running along the back spine of the chain) so the bottom edge looks like a neat braided top edge with matching stretch.

Mistake 1B: Counting the Loop on the Hook (or Twisting the Chain)
- How to spot it: Your first row is always 1 stitch short of what the pattern says, or your long foundation chain twists like a corkscrew while you work across Row 1.
- Why it happens:
- Counting the active loop: The working loop sitting around your hook shaft never counts as a chain—and neither does the slip knot at the bottom. If you count the loop on your hook as Chain #1, your chain will be 1 stitch short.
- Twisting the chain: On long chains (
50+stitches), flipping the chain between your fingers causes you to work into the frontVon some stitches and the back bump on others.
- How to fix it: Count only the completed
Vloops between the slip knot and the hook shaft. As you work Row 1, pinch the chain flat between your non-hook thumb and middle finger about2–3chains ahead of your hook so the row ofVs stays facing straight up.
2. Mistakes at the Row Edges (Growing or Shrinking Rows)
If a rectangular scarf or blanket slowly turns into a triangle, trapezoid, or wavy hourglass, the mistake is happening on the first stitch or the last stitch of your rows.
Mistake 2A: Rows Keep Getting Wider (+1 Stitch Per Row)
- How to spot it: One or both side edges flare outward diagonal-style, and when you count your stitches, you have more stitches than you started with.
- Why it happens (Worked Arithmetic Example):
- Suppose you start a 12-stitch double crochet (
dc) swatch. In standarddc, yourch 3turning chain counts as Stitch #1. - When you turn to start Row 2, that
ch 3is already standing on top of Stitch #1. If you also insert your hook into the very first stitch at the base of thech 3, you have put two stitches into one column:1countedch 3+12 dcworked across = 13 stitches (+1accidental increase). - In single crochet (
sc), the opposite mistake adds a stitch at the end of the row: thech 1turning chain does not count as a stitch, so if you work an extrascinto the tinych 1loop at the end of the row,12 scbecomes 13sc.
- Suppose you start a 12-stitch double crochet (
- How to fix it: Always verify whether your turning chain counts as a stitch. If it counts (standard
dc), skip the first stitch at the base of the chain and put your first real stitch into the 2nd stitch. If it does not count (standardsc), start in the 1st stitch and never work into thech 1at the end of the next row.
Mistake 2B: Rows Keep Getting Narrower (-1 Stitch Per Row)
- How to spot it: Your fabric tapers inward like a pyramid or step-ladder, losing 1 or 2 stitches every row.
- Why it happens: The final stitch at the far left end of a row (either the first stitch of the row below, which tilts slightly downward, or the top chain of a counted
ch 3turning chain) hides on the side edge. Stopping one stitch early turns a 12-stitch row into11,10,9, and so on. - How to fix it: Clip a locking stitch marker under both top
Vloops of the very first stitch you make on every row (or into the top chain of a counted turning chain). When you crochet back across the next row, you never have to guess where the row ends—you keep crocheting until you work into the marked stitch. - Deep dive: Read our dedicated troubleshooting guides on why your crochet blanket is turning into a triangle and how to keep your edges straight in double crochet. You can also verify complex pattern repeats before you start using our interactive stitch count checker.
3. Mistakes Inside the Stitches (Loops and Plies)
Even when your stitch count is exact, two common hook-insertion habits can change the texture and strength of your fabric.
Mistake 3A: Working Into Only One Loop by Mistake
- How to spot it: Your fabric has a prominent horizontal line or ridge running across every single row, and the fabric stretches vertically much more than expected.
- Why it happens: After Row 1, the top of every crochet stitch forms a two-strand sideways
V(a front loop closest to you and a back loop farthest from you). If you only push your hook under the back loop (BLO) or front loop (FLO), the unworked loop stays exposed on the surface of the fabric as a horizontal ridge. - How to fix it: Unless a pattern explicitly instructs
BLOorFLO(for ribbed cuffs or hat brims), always tilt the top of your row slightly toward you and push the hook tip completely underneath both strands of the topVbefore yarning over.

Mistake 3B: Splitting the Yarn Plies
- How to spot it: Individual thin threads of yarn snag on your hook lip, leaving fuzzy little loops sticking out of the surface of a stitch or making the hook catch partway through a pull-through.
- Why it happens: Most worsted-weight yarns are made by twisting
3to4individual plies together. If you push the pointed tip of your hook straight into the center of the strand—or use a loosely twisted yarn with a sharp-throated hook—you catch only 2 of the 4 plies. - How to fix it:
- When pulling a loop through a stitch, rotate your crochet hook slightly so the hook lip faces downward (toward the bottom of the
Vopening) rather than sideways into the yarn plies. - If you notice a split ply mid-stitch, do not force it through—let the incomplete loop off your hook, pull the working yarn gently to release the snagged ply, and scoop all plies cleanly together.
- While learning, avoid dark black yarn, fuzzy chenille/eyelash yarn, and loosely spun single-ply roving; choose a smooth, light-colored
#4worsted-weight plied yarn so you can see every strand clearly.
- When pulling a loop through a stitch, rotate your crochet hook slightly so the hook lip faces downward (toward the bottom of the

4. Tension Mistakes: Why Your Fabric Is Stiff (Shaft vs. Throat)
If your crochet swatch feels stiff enough to stand up on its own and you have to fight to push your hook into the stitches of the previous row, the culprit is almost always where on the crochet hook you are forming your loops.
A crochet hook has two distinct working zones near the head:
- The Throat: The tapered neck just behind the hook lip. Its job is to help the loop slide smoothly in and out of stitches—not to size the stitch.
- The Shaft (Working Area): The smooth cylindrical body between the throat and the thumb rest. This is where your hook's millimeter size (
5.0 mm,5.5 mm, etc.) is measured.
- The Mistake: Beginners often keep all their loops bunched up on the narrow throat right behind the hook tip and yank the working yarn tight after every stitch. Because the throat is narrower than
5.0 mm, every topVcomes out tiny and locked shut. - The Fix: Every time you pull up a loop, let that loop slide
1–2 cm(0.5 in) back onto the full cylindrical shaft of the hook before you yarn over again, and resist the urge to tug the working yarn after completing a stitch. For a full breakdown of hand holds and yarn flow, read our guide on how to fix uneven tension in double crochet.
5. How to Undo a Mistake (Tinking, Frogging, and Lifelines)
Everyone makes mistakes in crochet—the difference between frustration and confidence is knowing how to undo a mistake cleanly without ruining your yarn.

Method 1: "Tinking" Back 1 to 5 Stitches
If you spot a split stitch or missed V just a few stitches back on your current row:
- Slip your crochet hook out of the active loop.
- Pinch the working yarn and gently pull it backward—each tug unloops one stitch ("ripping it", or tinking).
- As soon as the faulty stitch unloops, slide your crochet hook back into the live loop of the last good stitch and continue crocheting. Unlike knitting, crochet has only one active loop at a time, so pulling your hook out never drops a whole row of stitches!
Method 2: "Frogging" Back 1 or More Rows
Why is unraveling crochet called frogging? Because you "rip-it, rip-it" (ribbit, ribbit). When you realize at Row 6 that you lost a stitch back on Row 3:
- Pull your hook out of the active loop.
- Pull the working yarn steadily to unravel Rows 6, 5, and 4 until you reach the exact mistake on Row 3.
- Wind the unraveled yarn loosely around your ball as you go so it does not tangle into knots, re-insert your hook into the live loop on Row 3, and resume.
Method 3: Using a Crochet Lifeline on Complex Stitches
When working lace, cables, or wide blankets where you never want to accidentally frog too far:
- After completing a row whose stitch count you have verified, thread a
50 cm(20 in) piece of smooth, contrasting scrap yarn (or dental floss) onto a tapestry needle. - Weave the needle under the front loop of every stitch across that completed row, leaving both ends of the scrap yarn hanging out the sides. Do not tie the ends.
- Keep crocheting your next rows normally over the lifeline. If you make a mistake above it, you can pull your hook out and frog freely—the unraveling will automatically stop dead at the lifeline row!
The 5-Second Pre-Row Checklist for Beginners
Before you chain and turn at the end of every row, run through this 5-second check:
- [ ] Did I work into the marked last stitch? (No stitches left unworked outside my stitch marker.)
- [ ] Does my stitch count match Row 1? (Count the top
Vs across; never count the loop on the hook.) - [ ] Did I move my stitch marker up? (Clip your marker into Stitch #1 of the new row as soon as you make it.)
- [ ] Are my loops sitting on the hook shaft? (Slide the active loop back from the throat so the top
Vstays open.) - [ ] Am I inserting under both top
Vstrands? (Unless the pattern specifically calls forBLOorFLO.)
Frequently Asked Questions (FAQ)
Why does my crochet piece keep getting wider or narrower?
A crochet piece gets wider when you accidentally add stitches—most often by working into the first stitch at the base of a turning chain that already counts as Stitch #1, or by working into an uncounted ch 1 at the end of a row. It gets narrower when you miss the final stitch at the end of a row or accidentally skip a stitch in the middle. Using locking stitch markers in the first and last stitch of every row fixes both problems immediately.
Why is the bottom of my crochet curling up?
Slight curling on Row 1 and Row 2 is normal because the foundation chain has less elasticity than the tops of your stitches; it usually flattens out by Row 4. However, if the bottom edge bows into a hard rainbow curve that refuses to lie flat after 4 rows, your foundation chain was worked too tightly. Remake the foundation chain with a hook 0.5 mm to 1.0 mm larger, then switch back to your regular hook for Row 1.
Why are there horizontal lines across my single crochet?
Horizontal ridges running across every row happen when you insert your crochet hook under only one loop (either the back loop only or front loop only) instead of pushing the hook completely underneath both strands of the top V on each stitch. While single-loop stitching is used intentionally for ribbed cuffs (BLO), standard crochet always goes under both top loops.
Should I fix a mistake several rows back or leave it?
Ask yourself two questions: Does the mistake change your stitch count for the next row, and is it visually obvious? If you split a ply or worked under one loop on a single stitch 4 rows back in a large blanket, leave it—it will never unravel and no one will spot it. However, if you skipped a stitch or added a stitch and your pattern relies on an exact stitch multiple, frog back to that row and fix it so the rest of your pattern lines up.
What is the easiest yarn and hook size to avoid beginner mistakes?
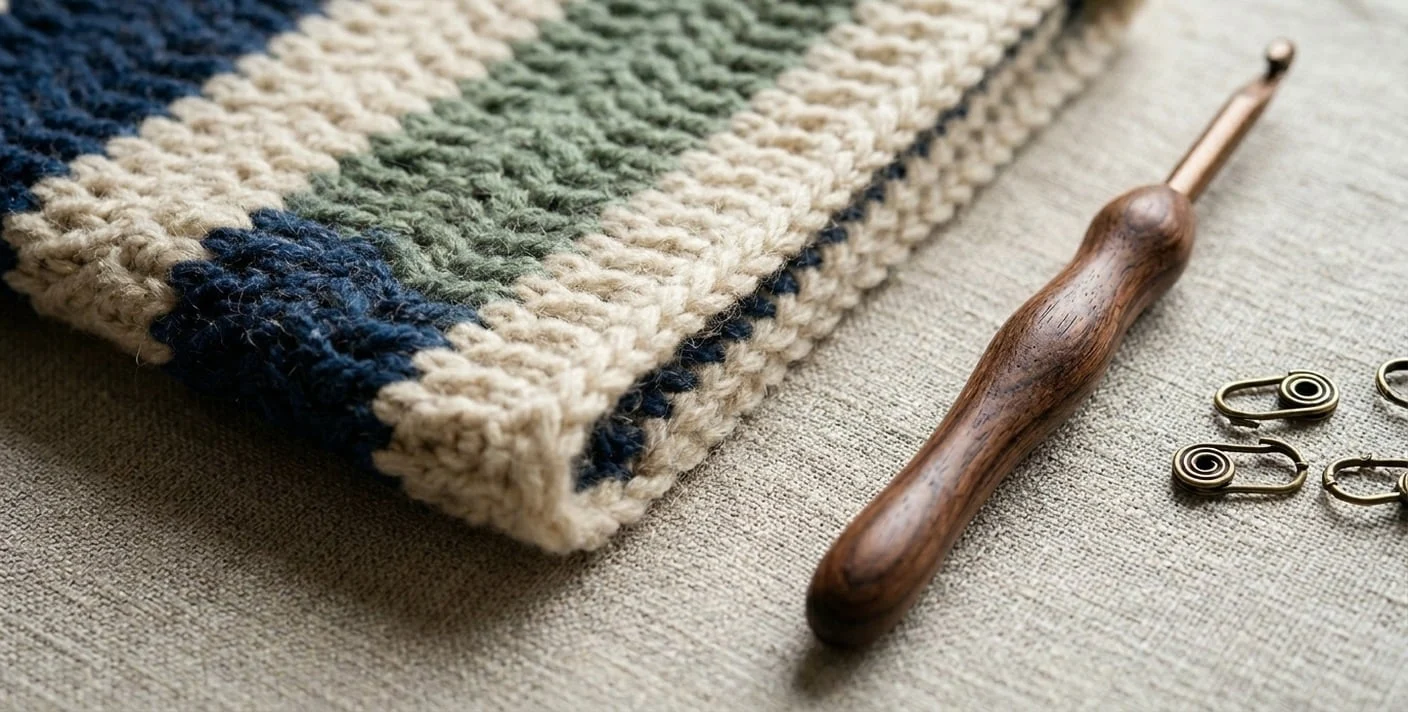
Start with a smooth, plied #4 medium/worsted-weight yarn in a light, solid color (such as cream, sage green, terracotta, or light blue) paired with an ergonomic 5.0 mm (US H-8) or 5.5 mm (US I-9) aluminum crochet hook. Avoid black or navy yarn (which hides the V loops in shadow) and fuzzy chenille or novelty yarn until you can recognize stitch anatomy by feel.


Questions & notes
No comments yet
Sign in or create a free account to comment under your profile and keep track of your replies.
Your email address is never published. Comments are moderated under our Community Guidelines; see our Privacy Policy for how we use your details.