
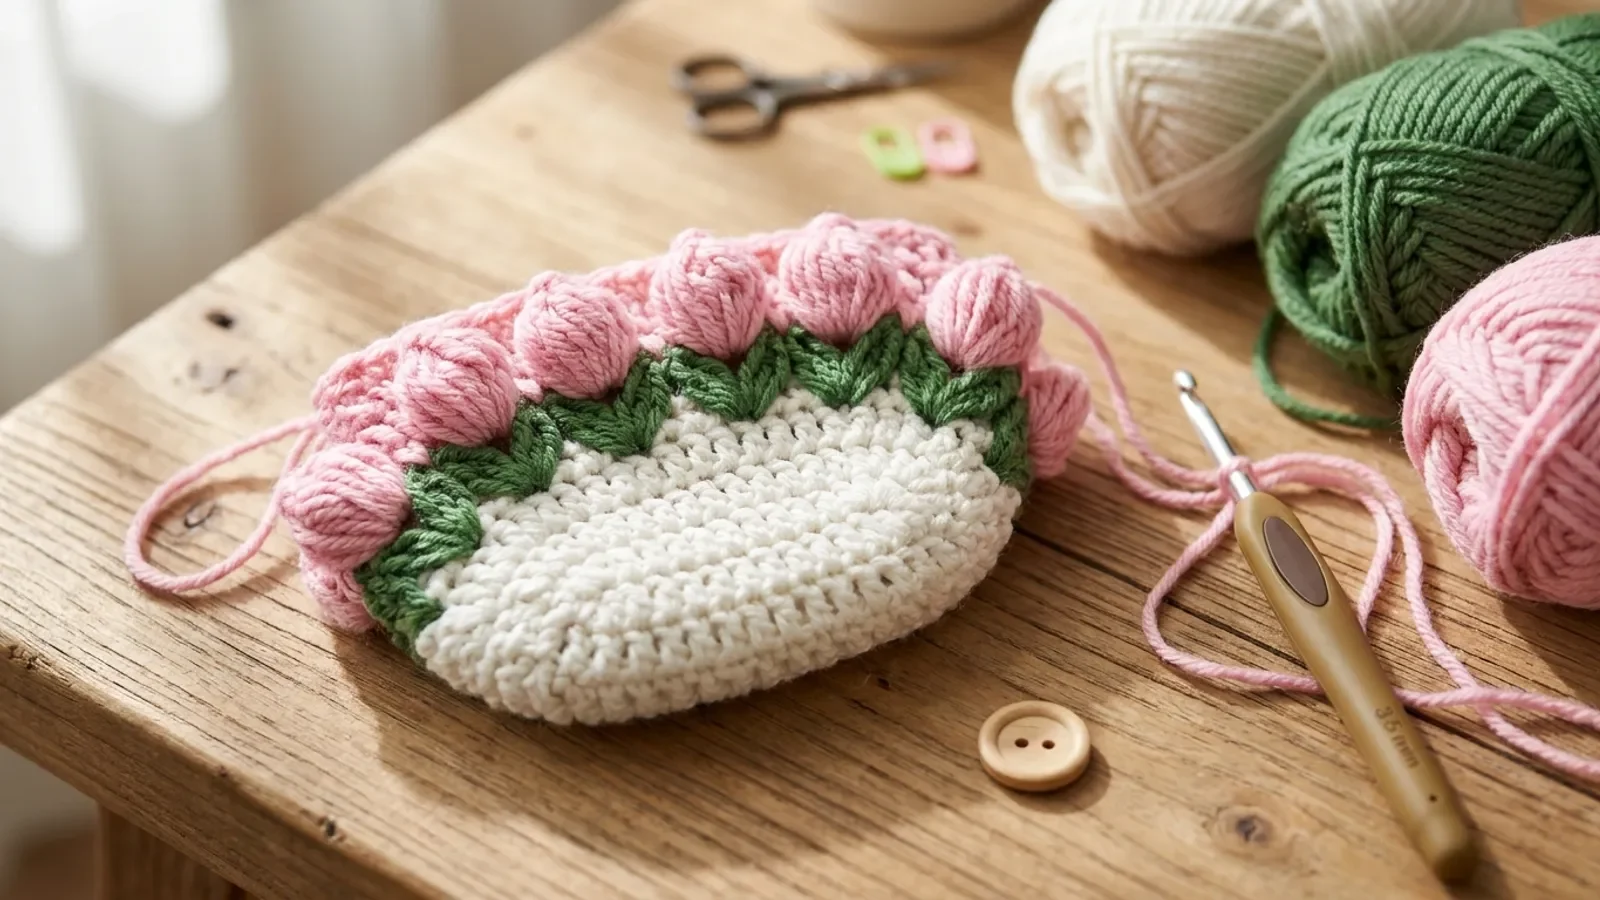
A small white pouch, just right for cards or a little cash, with a band of pink tulips going all the way round. The tulips are two simple rounds: green V-stitches for the leaves, then a cluster of pink double crochets in each V for the flower. A back flap with a buttonhole closes it.
Elise made this in two videos on her lilthings channel. Both are here, with the pattern written out under each one.
Written from the two videos. The counts are worked out so each round lands on 42 stitches; if yours doesn't, recount before moving on.
Materials
- 5-ply milk cotton in white, green and pink
- 3.5 mm hook
- A wooden button
- A stitch marker, scissors and a darning needle
Part 1: base and tulips
Video tutorial by Elise on her YouTube channel, lilthings: watch "crochet tulip pouch🌷 pt. 1 | crochet for beginner tutorial | crochet card holder" on YouTube.
Base (rounds 1 and 2)
- Round 1: with white, chain 22 (20 + 2 for turning). Work 20 dc along one side, add stitches to turn the corner, and work back along the other side. The round ends with 42 dc.
- Round 2: 1 dc in each stitch around. (42)
Leaves (round 3)
Change to green. Chain 4 (this counts as 1 dc and a chain 2) and work 1 dc into the same stitch: that's your first V-stitch. Then [skip 2 stitches, (1 dc, ch 2, 1 dc) in the next stitch] all the way round.
Every V uses 3 stitches of round 2, so 42 stitches make 14 V-stitches.
Tulips (round 4)
Change to pink. Into the chain-2 space of each V-stitch, work 4 dc, then chain 2 to close the top of the flower. You can also work the 4 dc as a puff: leave each one unfinished and pull through all the loops at once. Move on to the next V. You now have 14 tulips.
Our V-stitch tutorial shows the leaf stitch on its own if you want to practise it first.
Part 2: upper body, flap and edging
Video tutorial by Elise on her YouTube channel, lilthings: watch "crochet tulip pouch🌷 pt. 2 | beginner friendly crochet tutorial | crochet card holder" on YouTube.
Framing the tulips (round 5)
Rejoin white in the gap between two tulips. Work 3 dc for each tulip, in the spaces between the tulips and over their tops, as Elise shows. 14 repeats of 3 brings the round back to 42 dc.
Upper body (rounds 6 and 7)
1 dc in each stitch around, two rounds. (42)
Flap (rows 8 to 10)
Flatten the pouch. Working only into the 18 stitches on the back, turn and chain 2 at the start of each row:
- Rows 8 and 9: 18 dc.
- Row 10 (buttonhole): 8 dc, chain 2, skip 2 stitches, 8 dc.
Edging and button
Join pink at a corner of the flap. Work [chain 4, skip 1 stitch, slip stitch in the next stitch] round the flap and along the top edge of the front. Sew the button on the front, lined up with the buttonhole.
Tips
- Count to 42 three times. At the end of rounds 1, 2 and 5. If round 2 isn't 42, the V-stitches won't divide evenly.
- Puff or plain? Unfinished double crochets pulled together make rounder, puffier tulips; 4 complete double crochets make flatter, more open ones.
- Centre the flap. Fold the pouch so the join sits at a side, then count the 18 flap stitches from the middle of the back.
Frequently asked questions
What fits in it?
Bank cards, a transit card and some folded notes. For a phone, start with a longer chain and work more rounds.
My tulips look like shells. Why?
They need the chain 2 at the top to close them in. Without it, the 4 dc fan out into a shell.
Can I skip the button?
Yes: sew a snap under the flap instead, or leave the buttonhole out and keep the flap loose.


Questions & notes
No comments yet
Sign in or create a free account to comment under your profile and keep track of your replies.
Your email address is never published. Comments are moderated under our Community Guidelines; see our Privacy Policy for how we use your details.