
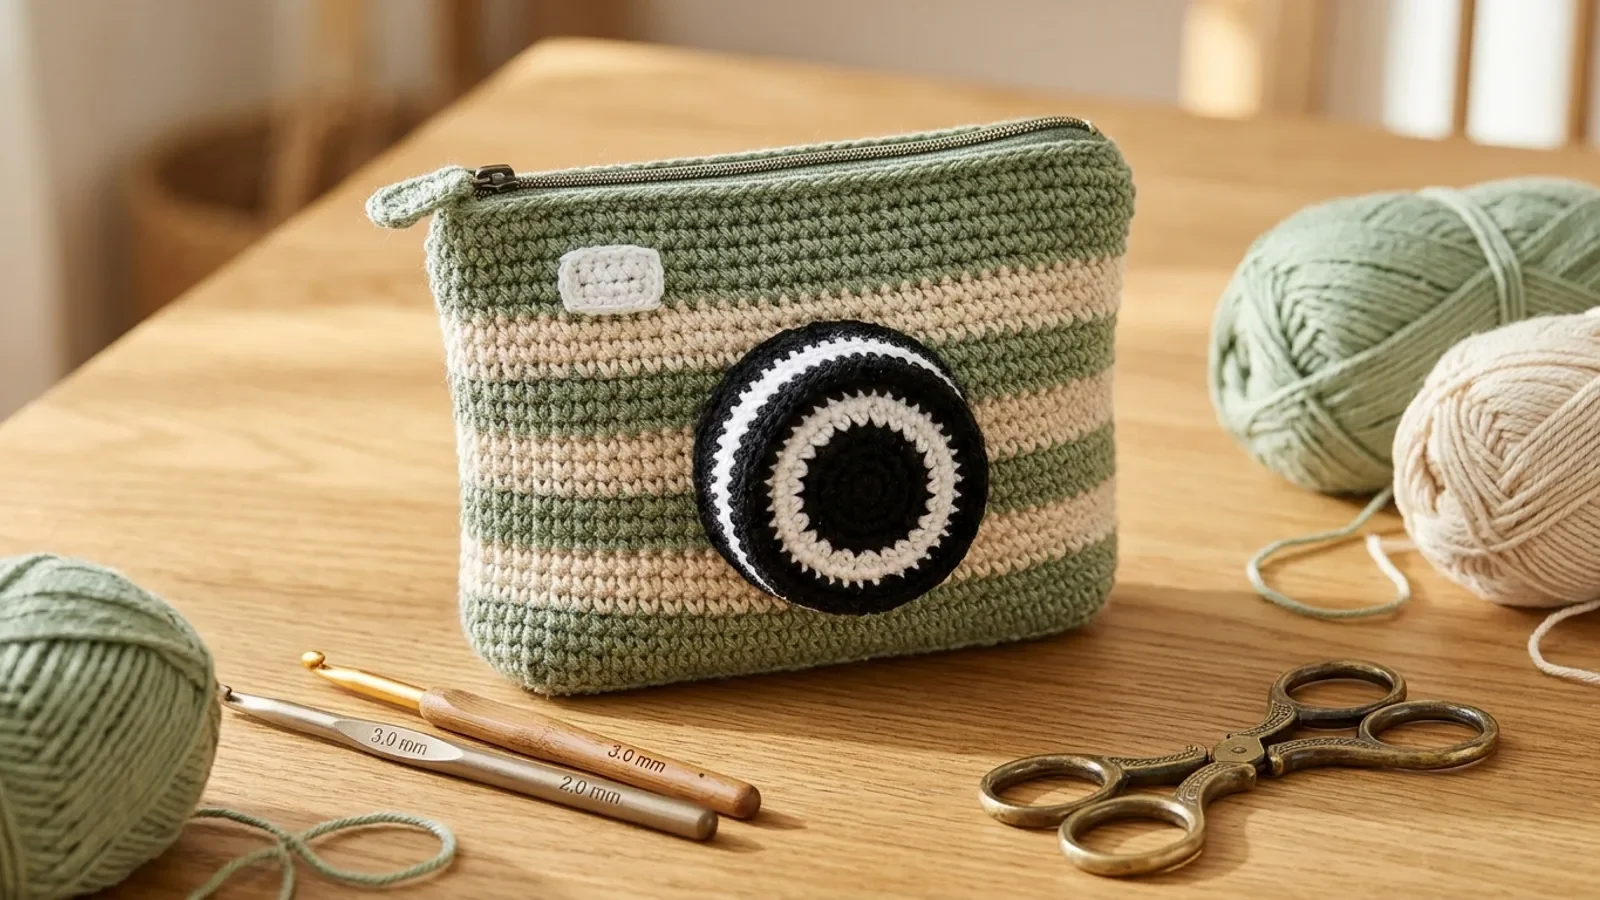
This pouch looks like a little film camera: a green and beige body, a round lens that stands out from the front, and a white viewfinder in the corner. Under the costume it is a simple oval-based tube of double crochet with a zip on top, so it is a good step up for anyone who has made a flat piece and wants to try working in the round.
The zip is the clever part. Instead of sewing it in with a needle and thread, Elise (lilthings on YouTube) pierces the zip tape with a fine 2 mm hook and slip stitches it straight onto the pouch.
Video tutorial by Elise on her YouTube channel, lilthings: watch "crochet retro camera pouch ♡ beginner crochet tutorial | crochet bag pouch" on YouTube.
Written from Elise's video tutorial; use the video to see the zip technique up close.
Materials
- 5-ply milk cotton in green, beige, white and black
- 3.0 mm hook for the pouch and lens; 2.0 mm hook for the zip
- A zip about as long as the top of your pouch
- Stitch marker, scissors, darning needle
Body
The body is worked in joined rounds with a chain 2 at the start of each round.
- Foundation: with green, chain 28 (26 for the base plus 2 for turning).
- Round 1: starting in the 3rd chain from the hook, work 1 dc in each of the 26 chains. Work extra stitches around the end, then 26 dc back along the other side of the chain, and around the second end. The video shows exactly where the end stitches go; the round finishes at 56 dc.
- Rounds 2 to 5 (green): join each round with a slip stitch into the back loop only of the first stitch, chain 2, and work 56 dc around.
- Rounds 6 to 8 (beige): change colour on the last pull-through of round 5, then work 56 dc per round.
- Rounds 9 to 11 (green): change back to green for three more rounds.
Elise uses a yarn-under double crochet (the hook goes over the yarn instead of under it), which makes a firmer, tidier fabric for a bag that has to hold its shape. If it feels awkward, ordinary double crochet works; the pouch will just be a little softer.
Lens
Worked in single crochet spirals or joined rounds, starting in black.
Round | Instructions | Stitches |
|---|---|---|
1 | 6 sc in a magic ring | 6 |
2 | 2 sc in each st | 12 |
3 | [1 sc, inc] × 6 | 18 |
4 | change to white or beige: [2 sc, inc] × 6 | 24 |
5 | [3 sc, inc] × 6 | 30 |
6 | [4 sc, inc] × 6 | 36 |
7 | 1 sc in the back loop only of each st | 36 |
Round 7 in the back loop folds the edge back at a right angle, which gives the lens its depth.
Viewfinder
With white, chain 5. Starting in the 2nd chain from the hook, work 4 sc. Fasten off, leaving a tail for sewing.
Assembly
- Sew or glue the lens to the middle of the front, and the viewfinder in an upper corner.
- Zip: switch to the 2.0 mm hook. Push it through the fabric tape of the zip, catch the yarn and pull up a loop, then slip stitch the tape along the top 56 stitches of the pouch. Keep the spacing even so the zip doesn't wave.
- Weave in all the ends on the inside.
Tips
- Mark the first stitch of every round. With 56 stitches, a missed stitch is easy to miss; counting the round after each colour change keeps the stripes level.
- Pin the zip first. Clip the zip in place with the pouch flat before you crochet it on, so both sides end at the same point.
- Stuff the lens lightly with a scrap of yarn if you want it to stand out more.
Frequently asked questions
Can I skip the zip?
Yes. Add a few rounds at the top and a drawstring instead, or sew on a button and loop.
What is the back-loop join?
At the end of each round you slip stitch into the back loop only of the first stitch, rather than both loops. It makes the join less visible on a striped piece. See our back loop and front loop guide for where the loops are.
My pouch is curving into a bowl.
The rounds after round 1 must stay at 56 stitches. If they grow, the walls flare; if you lose stitches, they pull in. Recount the last round before carrying on.


Questions & notes
No comments yet
Sign in or create a free account to comment under your profile and keep track of your replies.
Your email address is never published. Comments are moderated under our Community Guidelines; see our Privacy Policy for how we use your details.