How to Double Crochet in the Round: Flat Circle Math, Magic Ring & Seamless Joins
Twelve stitches a round keeps a double crochet circle flat: how to start cleanly in a magic ring, stagger the increases, and join without a visible seam.

8 min read

To crochet a flat circle in US double crochet (dc), follow the 12-Stitch Flat Circle Formula: start Round 1 with 12 double crochet stitches inside a Magic Ring (or a ch-4 ring), and increase evenly by 12 stitches on every single round (Round 1 = 12 sts, Round 2 = 24 sts, Round 3 = 36 sts, Round 4 = 48 sts, Round 5 = 60 sts). On each new round, you simply add 1 more plain double crochet (dc) between your double crochet increases (2 dc in next st).
Why 12 stitches instead of the 6 stitches used for single crochet? Because a US double crochet is twice as tall as a single crochet! Every round you add increases the radius (r) of your circle by roughly twice as much height—and by the law of circle geometry (Circumference = 2 × π × r), doubling the radius growth means you must double the number of stitches added per round (6 × 2 = 12 stitches) so the outer edge can expand flat without curling up into a bowl!
In this complete technical guide, we show you how to start Round 1 in a Magic Ring (or ultra-secure Double Magic Ring) without losing your yarn over, give you a 10-Round Flat Circle Cheat Sheet Table, teach you how to stagger your increases so your circle doesn't turn into a 12-sided polygon, and compare 3 ways to join rounds without an ugly diagonal seam.
The Golden Math of a Flat Double Crochet Circle (Why 12 Is the Magic Number)
As explained in Sarah Maker's flat-circle formula guide, the number of stitches required in Round 1 (and added on every subsequent round) is determined strictly by the height of the stitch:
US Stitch Type | Relative Height | Round 1 Starting Stitch Count | Stitches Added Per Round | Round 2 Count | Round 3 Count | Round 4 Count |
|---|---|---|---|---|---|---|
Single Crochet ( |
| 6 to 8 sts |
| 12–16 sts | 18–24 sts | 24–32 sts |
Half Double Crochet ( |
| 8 to 10 sts |
| 16–20 sts | 24–30 sts | 32–40 sts |
Double Crochet ( |
| 12 sts |
| 24 sts | 36 sts | 48 sts |
Double Crochet ( |
| 10 or 11 sts |
| 20–22 sts | 30–33 sts | 40–44 sts |
Wait—What If My Pattern Saysdc6 into ring? If you are reading a pattern that tells you to work6 dc into a magic ring(Round 1: 6 dc, Round 2: 12 dc, Round 3: 18 dc) and you are not intentionally making a pointed elf hat or cone, stop! You are reading a British (UK) terminology pattern wheredcmeans US single crochet (sc)! Check our US vs. UK Double Crochet Conversion Guide before continuing.
How to Start Double Crochet in a Magic Ring (Without Losing Your Yarn Over)
Starting double crochet inside a Magic Ring (Magic Circle) intimidates many beginners because the ring feels floppy in the air while you try to hold a yarn-over on your hook. Here is our Pinch-and-Lock Method that keeps the ring completely stable:

Step-by-Step: Starting 12 Double Crochets in a Magic Ring
- Form the Magic Ring & Lock It with Chain 3: Wrap the yarn tail around your left index and middle fingers in an
X, slide your hook under the right strand, grab the working yarn, pull up a loop, and immediately make 3 chain stitches (ch 3) (or 1 Chainless Starting DC). Those 3 chains lock the ring so it can no longer untwist—and they count as Stitch #1 of your 12 stitches! - Pinch BOTH Bottom Strands (Loop + Tail): Slide the ring off your fingers and pinch the bottom of the ring between your non-hook thumb and middle finger, making sure both the main ring loop AND the loose yarn tail lie side-by-side at the top of the ring. (If you only crochet over 1 strand, pulling the tail later won't close the hole!)
- Hold the Yarn Over with Your Hook-Hand Index Finger: Yarn over (
YO), press your right index finger against the yarn-over on the hook shaft, and insert your hook through the center of the ring (underneath both the ring loop and the tail strand). - Complete 11 More Double Crochets Inside the Ring (
12 Stitches Total): Yarn over, pull up a loop through the ring (3 loops on hook),[YO, pull through 2 loops]twice. That is Stitch #2! Work 10 more double crochets into the ring in the exact same way (1 ch-3 + 11 true dc = 12 stitches). - Cinch the Center Closed and Join: Gently pull the loose yarn tail until the center hole disappears completely. Join Round 1 with a slip stitch (
sl st) into the 3rd chain of your startingch 3.
Two Bulletproof Alternatives to a Standard Magic Ring
- The Double Magic Ring (Best for Heavy Blankets & Washable Rugs): Wrap the yarn around your fingers twice (instead of once) before making your
ch 3, and work all 12 double crochets over both loops plus the tail. A Double Magic Ring has twice the friction and will never pop open in the washing machine! - The Chain-4 Ring (
Ch 4, sl st to 1st ch): If you prefer not to use a Magic Ring, simplych 4, join with a slip stitch into the 1st chain to form a ring,ch 3(counts as 1stdc), and work11 dcinto the center of the ring while holding the yarn tail along the ring so you can cinch it closed at the end.
10-Round Flat Double Crochet Circle Pattern & Cheat Sheet Table
In this master table, every round starts with Ch 3 (counts as the first dc) and ends by joining with a slip stitch (sl st) to the top of the starting ch-3. Here inc means work 2 dc into the same stitch:
Round # | Written Repeat Pattern (US Terms) | Plain | Stitches Added | Total Stitches at End of Round |
|---|---|---|---|---|
Round 1 |
|
| — | 12 sts |
Round 2 |
|
|
| 24 sts |
Round 3 |
|
|
| 36 sts |
Round 4 |
|
|
| 48 sts |
Round 5 |
|
|
| 60 sts |
Round 6 |
|
|
| 72 sts |
Round 7 |
|
|
| 84 sts |
Round 8 |
|
|
| 96 sts |
Round 9 |
|
|
| 108 sts |
Round 10 |
|
|
| 120 sts |
Round | Work |
|
|
|
How to Stagger Your Increases (Turning a 12-Pointed Polygon into a True Circle)
Notice what happens around Round 5 or Round 6 if you follow the standard table above: because every 2 dc increase sits stacked directly on top of the 2 dc increase from the round below, 12 faint "spokes" form and the outer edge starts looking like a 12-sided dodecagon instead of a smooth circle!
To make your circle 100% round like a dinner plate, split the plain stitches in half at the start of every even-numbered round:
- Round 4 (Staggered): Instead of starting with
2 plain dc, inc, start with1 plain dc, inc, then work*2 plain dc, inc*11 times, and finish with1 plain dcin the last stitch (1 + 1 = 2 plain dctotal between those two increases!). - Round 6 (Staggered): Start with
2 plain dc, inc, then work*4 plain dc, inc*11 times, and finish with2 plain dcin the last 2 stitches. - Round 8 (Staggered): Start with
3 plain dc, inc, then work*6 plain dc, inc*11 times, and finish with3 plain dcin the last 3 stitches.
How to Join Double Crochet Rounds Without an Ugly Seam (3 Methods)
When working joined rounds of double crochet, two things create a visible diagonal scar: 1) the gap next to the ch-3, and 2) accidentally working into the slip stitch join ("the false stitch") at the end of the round.
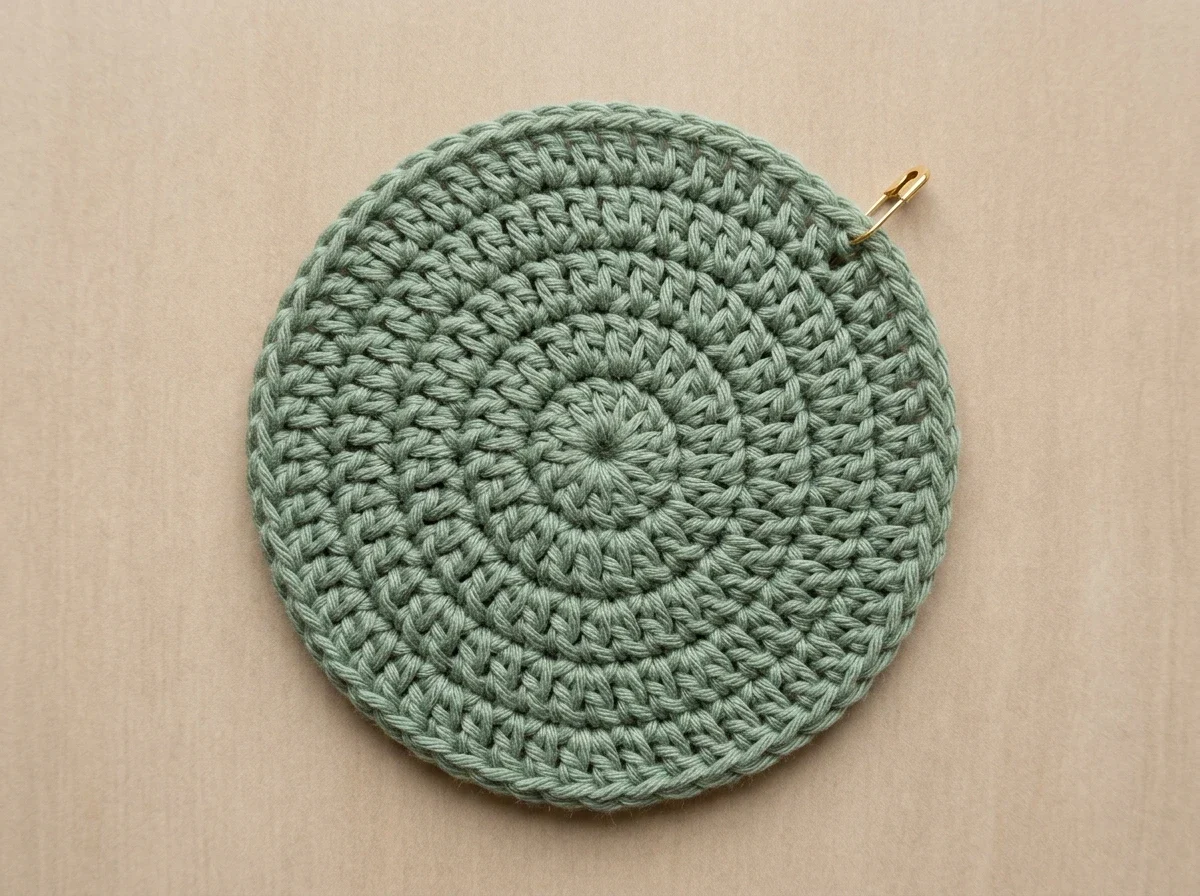
First: Mark the "False Stitch" (The Slip-Stitch Join)
When you close a round with a slip stitch, the horizontal top of that slip stitch looks exactly like a real stitch V when you come back around on the next round! Snug your joining slip stitch tight and clip a locking stitch marker into it (or clip a marker into your last true dc of the round) so you never work into the slip stitch by mistake.
Comparing 3 Round-Joining Methods
Joining Method | How to Start the Round | How to Close the Round | Seam Visibility & Best Use |
|---|---|---|---|
Method 1: Traditional Counted |
| Slip stitch into the 3rd chain of the starting | Leaves a slight diagonal line of chains. Best when changing colors every round or working granny clusters. |
Method 2: Uncounted |
| Skip the uncounted | Hides 80% of the seam! Because a real |
Method 3: Chainless Starting DC ( | Start the round with a Chainless Starting Double Crochet ( | Pull up loop slightly, remove hook, insert hook from back to front under top V of 1st stitch, grab loop, and pull to the back before starting next CSDC. | 100% Invisible Seam! You cannot tell where the round begins or ends. |
Troubleshooting: Why Is My Double Crochet Circle Curling Up (Cupping) or Waving (Ruffling)?
Problem | What It Looks Like | Root Cause | Exact Fix |
|---|---|---|---|
Cupping / Curling Up into a Bowl | Edges curl upward like a cereal bowl or beanie crown | Either you started with fewer than 12 stitches (e.g., 6 or 8 sts), you missed increases, or your tension is very tight | 1) Count Round 1 to verify 12 stitches; 2) Go up 0.5 mm to 1.0 mm in hook size; 3) If your tension is naturally very tight, start Round 1 with 13 or 14 |
Ruffling / Waving Like a Lettuce Leaf | Outer edge ripples and refuses to lie flat on the table | Either you accidentally worked into the slip stitch join (+1 or +2 extra stitches per round), started with too many stitches, or have very loose tension | 1) Recount your round ( |
Frequently Asked Questions
Can you work double crochet in continuous spiral rounds without joining?
Yes, you can work double crochet in a continuous spiral (skipping the sl st join and working the first dc of Round 2 directly into the top of Round 1's first stitch, always using a stitch marker). Because there is no join, there is zero vertical seam! However, because double crochet is a tall stitch, a spiral leaves a 0.5-inch step-off jog at the very end of your project. To flatten that final jog on the last round, work 1 hdc, 1 sc, 1 sl st over the final 3 stitches.
How many double crochets should I put in a magic ring for a beanie hat?
For a top-down double crochet beanie, start Round 1 with 10 to 12 double crochets in a Magic Ring and work flat-circle increase rounds until the crown diameter equals Head Circumference ÷ 3.14 (typically 5.25 to 5.5 inches across for an adult medium hat, or about 5 increase rounds = 60 stitches). Then stop increasing and work plain dc in every stitch around for the sides of the hat!
How do I finish off the last round of a double crochet circle so there is no bump?
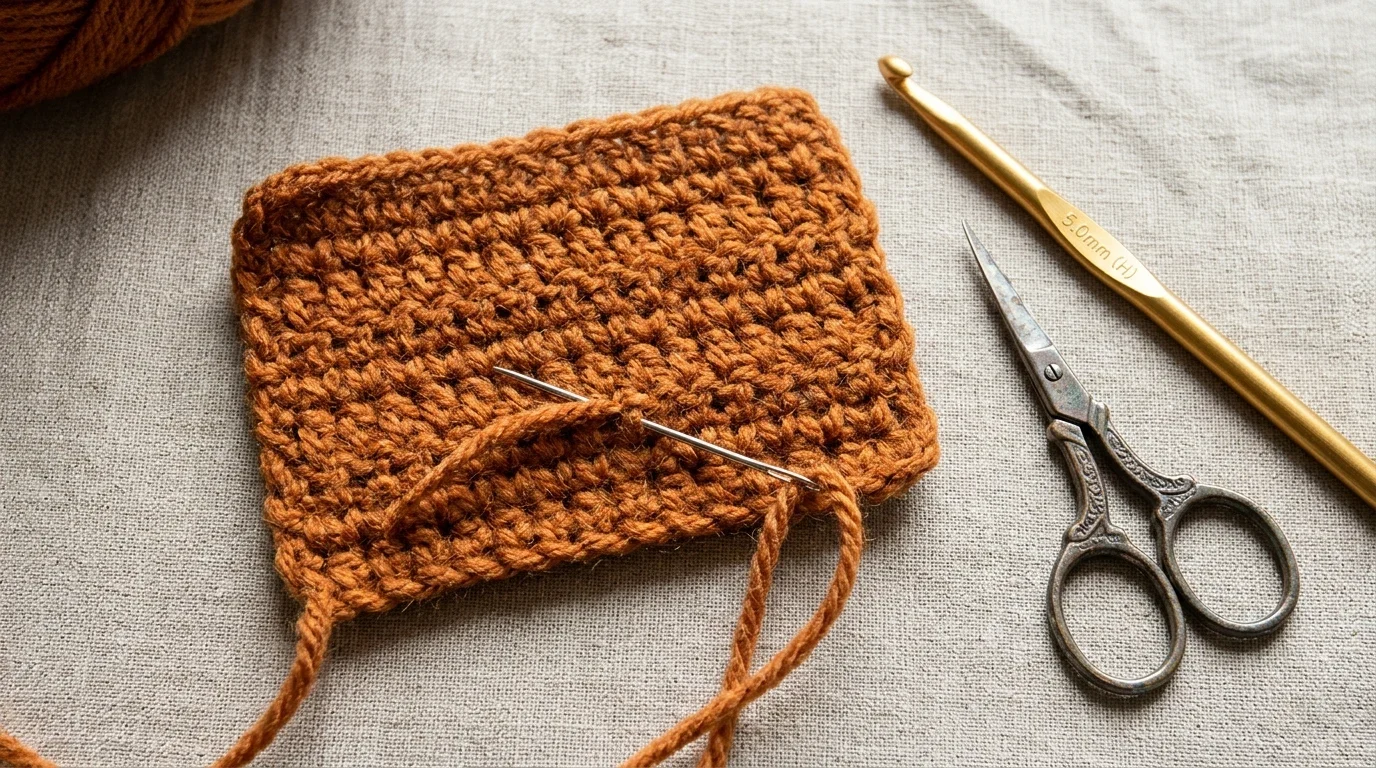
Use an Invisible Needle Join: after working the final dc of your last round, do not make a slip stitch. Cut your yarn leaving a 6-inch tail, pull the loop straight up out of the last stitch, thread the tail onto a tapestry needle, pass the needle under both top V-loops of the second stitch of the round (skipping the ch-3), and then insert the needle straight down into the center of the last stitch's top V. It forms a fake braided V that matches the rest of the edge!


Questions & notes
No comments yet
Sign in or create a free account to comment under your profile and keep track of your replies.
Your email address is never published. Comments are moderated under our Community Guidelines; see our Privacy Policy for how we use your details.