Tunisian Simple Stitch (`Tss`) for Beginners: Step-by-Step Tutorial
Tunisian crochet works a whole row of loops onto the hook and then off again. The Tunisian simple stitch is the place to start.

10 min read

By Double Crochet Editorial Team | Last Updated: November 2026
The Tunisian Simple Stitch (Tss) is the foundational stitch of Tunisian crochet, worked in a two-stage rhythm without ever turning your work: on the Forward Pass (right to left), you insert your hook under each stitch's front vertical bar to collect a full row of live loops onto a long hook; on the Return Pass (left to right), you chain 1 at the left edge and work yarn over, pull through 2 loops across until only 1 loop remains on your hook.
US vs. UK Terminology Note: Tunisian crochet terminology is 100% identical in both the US and the UK! The abbreviationTss(Tunisian Simple Stitch), Forward Pass (FwP), and Return Pass (RetP) mean the exact same movements worldwide. Only when you work a standard bind-off or border should you remember that a US single crochet (sc) is called a UK double crochet (dc).
What You Need Before Starting (+1.5 mm Hook Rule)
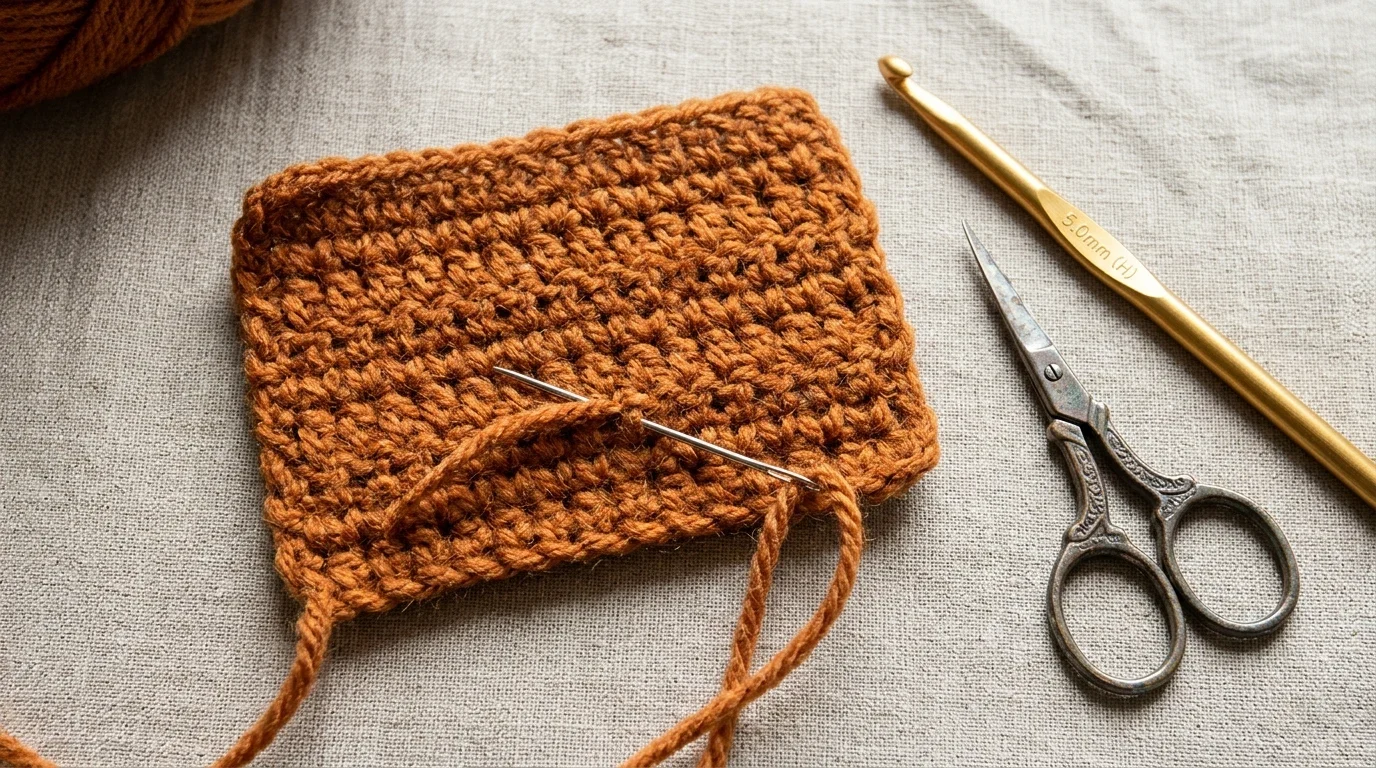
Because Tunisian Simple Stitch interweaves vertical loop columns with horizontal return-pass chains, it creates a plush, basketweave-like fabric roughly twice as thick as standard single crochet.
- Choose a hook
1.0 mmto2.0 mmlarger than your yarn label: If your#4worsted-weight yarn label recommends a5.0 mm(H-8) hook for regular crochet, use a6.5 mm(K-10.5) or7.0 mmhook for Tunisian Simple Stitch so the fabric drapes softly instead of curling into a stiff tube. - Can you practice with a regular crochet hook? Yes! For a narrow 10- to 15-stitch practice swatch, a standard
15 cm(6 in) crochet hook with a straight shaft (no thick rubber handle blocking the middle) works fine. For wider scarves or blankets, use one of the specialized Tunisian crochet hooks (a25–30 cmstraight hook with an end cap or a cabled Tunisian hook).
Yarn Weight Category | Standard Crochet Hook on Label | Recommended Hook Size for |
|---|---|---|
#2 Sport / Fine |
|
|
#3 DK / Light Worsted |
|
|
#4 Worsted / Medium |
|
|
#5 Bulky / Chunky |
|
|
Step 1: The Tunisian Foundation Row (Forward and Return Pass)
Every Tunisian crochet project begins with the exact same Foundation Row. Unlike regular crochet, you never chain extra stitches for a turning chain: if you want a 10-stitch swatch, you chain exact 10 chains.

Part 1A: Foundation Forward Pass (Right to Left ←)
- Make a slip knot and
ch 10loosely. (Count of loops on hook =1active loop). - Flip your chain over so you can see the row of horizontal back bumps (back ridges) running down the spine of the chain. Working into the back bumps gives your bottom edge a clean braided finish.
- Skip the 1st chain right under the hook (the loop already on your hook counts as Stitch #1). Insert your hook into the back bump of the 2nd chain from the hook, yarn over (
yo), and pull up a loop. Leave that loop on your hook (2loops on hook). - Insert your hook into the back bump of the next chain,
yo, and pull up a loop (3loops on hook). - Repeat across every remaining chain. When you pull up a loop in the final (10th) chain, stop and count the loops sitting along your hook shaft:
1initial loop +9pulled-up loops = 10 loops on your hook.
Part 1B: Standard Return Pass (Left to Right →)
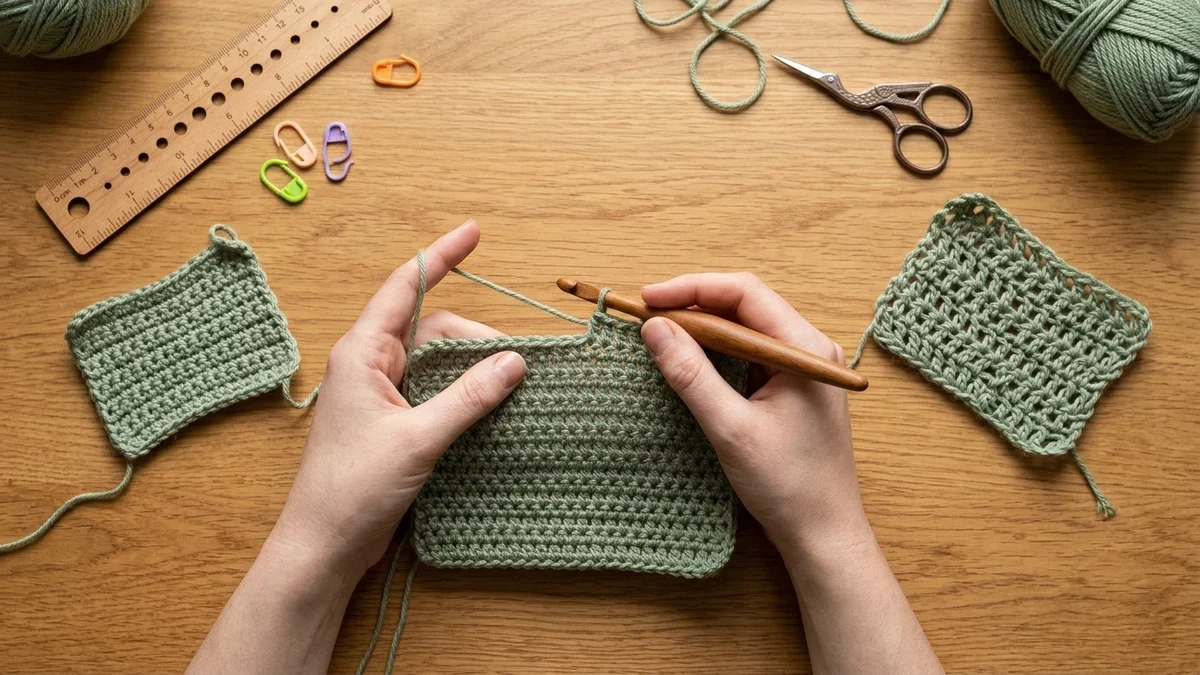
Do NOT turn your work! Keep the right side (RS) of the fabric facing you:
- Make the left edge chain (
ch 1): Yarn over and pull through only the 1st loop on the left tip of your hook (yo, pull through 1). This single chain lifts the row up to height at the left margin. You still have10loops on your hook. - Work off in pairs (
yo, pull through 2): Yarn over and pull through the next 2 loops on your hook (9loops remain on hook). - Continue working *`yo, pull through 2 loops`* all the way back to the right edge (
8 → 7 → 6 → 5 → 4 → 3 → 2 → 1). - Stop when 1 single loop remains on your hook. That remaining loop automatically counts as Stitch #1 of Row 2!
Step 2: Tunisian Simple Stitch (Tss) Step by Step
Look closely at the completed Foundation Row in front of you: you will see 10 vertical strands of yarn standing straight up along the front of the row like fence posts. These are the front vertical bars.

- Always skip the 1st vertical bar on the far right: Because the active loop sitting on your hook is already positioned directly above the 1st vertical bar, it is your 1st stitch. (If you insert your hook under the 1st vertical bar, you will accidentally increase by
+1stitch every row!) - Insert under the 2nd front vertical bar: Bring your hook tip to the front of the work and slide it horizontally from right to left (
←) directly underneath the 2nd front vertical bar. Do not push the hook all the way through to the back of the fabric—stay right under that single front vertical strand. - Pull up a loop: Yarn over and pull a loop through to the front, leaving the new loop on your hook shaft (
2loops on hook). - Repeat across the row: Insert your hook right-to-left under the next front vertical bar,
yo, and pull up a loop. For a 10-stitch swatch, work this into Stitches #2 through #9 (9loops on hook), stopping when you reach the final stitch on the far left edge.
Step 3: How to Work the Last Stitch of the Row (Neat Selvedge Edge)
When you reach the far left edge of the row (Stitch #10), if you only insert your hook under the single front vertical strand, the left edge of your project will stretch into loose, sloppy loops.

To make your left edge look identical to the neat braided chain on your right edge:
- Tilt the left side edge of your swatch slightly toward you. You will see two vertical strands sitting side by side on the outer edge (forming a sideways
Vmade by thech 1from the start of the previous Return Pass). - Insert your hook tip under both outer loops (both the front strand and the back strand of that edge stitch).
- Yarn over and pull up your 10th and final loop (
10loops on hook). - Work the Standard Return Pass exactly as before:
yo, pull through 1 loop, then*yo, pull through 2 loops*across until1loop remains on your hook.
Step 4: How to Bind Off Tunisian Simple Stitch
When your piece reaches the height you want, look at your last completed Return Pass: the top row of vertical bars has small gaps between the stitches and looks unfinished compared to the bottom edge. To close those gaps and create a flat top edge, work a Tunisian Slip-Stitch Bind-Off on the final Forward Pass:

- Start with your
1active loop on the right edge (skipping the 1st vertical bar as usual). - Insert your hook right-to-left under the 2nd front vertical bar, yarn over, and pull that loop directly through both the vertical bar AND the loop on your hook (just like a standard slip stitch). Only 1 loop remains on your hook!
- Insert your hook under the next front vertical bar,
yo, and pull through both loops on the hook (1loop remains). - Continue slip-stitching in each front vertical bar across—and under both outer loops of the final edge stitch on the left. Cut the yarn leaving a
15 cm(6 in) tail, pull it through the final loop to fasten off, and weave in the end. (No Return Pass is needed after binding off!)
How Tss Compares to Tunisian Knit (Tks) and Purl (Tps)
Once you can see the front vertical bar, learning the other two core Tunisian stitches only changes where your hook or yarn goes:
Tunisian Stitch | Abbreviation | Where the Hook Goes on Forward Pass | What the Fabric Looks Like | Does It Curl? |
|---|---|---|---|---|
Tunisian Simple Stitch |
| Right-to-left under the front vertical bar only | Crisp woven grid of vertical bars and horizontal return chains | Yes (curls forward at bottom/top) |
Tunisian Knit Stitch |
| Front-to-back between the front and back vertical bars | Looks identical to knitted stockinette ( | Yes (curls strongly like stockinette) |
Tunisian Purl Stitch |
| Hold working yarn in front of hook; insert under front vertical bar | Raised horizontal purl bumps along the front | No—lies 100% flat (and counteracts |
4 Ways to Stop Tunisian Simple Stitch from Curling
Why does Tunisian Simple Stitch curl forward at the bottom and top edges? Because every time you insert your hook under the front vertical bar, you pull yarn forward onto the front face of the fabric, creating forward surface tension.
Here are the 4 proven ways to make your Tss project lie flat:
- Go up
1.5 mmto2.0 mmin hook size: Looser loops reduce forward tension immediately. - *Work 2–3 rows of Tunisian Purl Stitch (
Tps) or Honeycomb (`Tss 1, Tps 1`) at the bottom and top borders:* BecauseTpspulls yarn to the back, alternatingTssandTpscancels out the curl completely before you even block the piece. - Add a single crochet (
sc) or crab-stitch border around all 4 edges after binding off. - Wet-block or steam-block the finished piece: Pinning a damp natural-fiber swatch (or lightly steaming an acrylic swatch without touching the iron to the yarn) relaxes the return-pass chains so the fabric stays flat permanently.
Worked Practice Swatch: 12-Stitch Tss Coaster / Dishcloth
Grab #4 worsted-weight cotton or acrylic yarn and a 6.5 mm (US K-10.5) hook to stitch this 10 cm × 10 cm (4 in × 4 in) coaster:
- Foundation Chain:
Ch 12. - Row 1 (Foundation Row):
- Forward Pass: Insert hook into back bump of 2nd ch from hook,
yo, pull up a loop. Pull up a loop in each remaining back bump across (1initial loop +11pulled-up loops =12loops on hook). - Return Pass:
Yo, pull through1loop;*yo, pull through 2 loops*repeat11times until1loop remains on hook.
- Forward Pass: Insert hook into back bump of 2nd ch from hook,
- Rows 2–10 (
TssBody):- Forward Pass: Skip 1st vertical bar.
*Insert hook right-to-left under next front vertical bar, yo, pull up a loop*repeat across next10bars (11loops on hook). Insert hook under both outer loops of final left edge stitch,yo, pull up a loop (12loops on hook). - Return Pass:
Yo, pull through1loop;*yo, pull through 2 loops*repeat11times until1loop remains on hook.
- Forward Pass: Skip 1st vertical bar.
- Bind-Off Row: Skip 1st vertical bar. Work
1 sl stunder each of the next10front vertical bars and under both loops of the final edge stitch (11 sl stworked =12bound-off stitches). Fasten off.
Planning a full-size Tunisian blanket or scarf? Use our interactive Tunisian crochet calculator to estimate exact yardage and foundation chain counts.
Frequently Asked Questions (FAQ)
Can you do Tunisian simple stitch with a regular crochet hook?
Yes, as long as your project is narrow (10 to 20 stitches wide, such as a coaster, mug cozy, ear warmer, or join-as-you-go blanket strip) and your regular crochet hook has a uniform cylindrical shaft without a bulky flat ergonomic grip in the middle. Once you exceed 20 stitches, live loops will bunch up or fall off the back of a short 15 cm hook, so you will need a long straight or cabled Tunisian hook.
Why do I keep losing or gaining stitches in Tunisian simple stitch?
Gaining a stitch (+1 per row) happens when you accidentally insert your hook under the very first vertical bar on the right edge—remember that the loop already on your hook counts as Stitch #1, so you always start in the 2nd vertical bar. Losing a stitch (-1 per row) happens when you miss the final edge stitch on the far left; always count the loops on your hook at the end of every Forward Pass before starting the Return Pass.
Does Tunisian simple stitch use more yarn than single crochet?
Yes—because each stitch consists of a tall vertical loop plus a horizontal return-pass chain locked behind it, Tunisian Simple Stitch uses roughly 15–25% more yarn per square inch than standard single crochet worked at a similar thickness, though sizing up your hook by 1.5 mm helps keep yarn usage moderate.


Questions & notes
No comments yet
Sign in or create a free account to comment under your profile and keep track of your replies.
Your email address is never published. Comments are moderated under our Community Guidelines; see our Privacy Policy for how we use your details.